Create and manage your ngram API key
Learn how every signed-in ngram user can create, copy, rotate, and revoke an API key for the REST API, MCP, Zapier, and n8n workflows.
Written By Anish Muppalaneni
Last updated About 1 month ago
Read before this
API keys are self-service
Every signed-in user can open Settings → API Keys and create a credential. No separate developer-access request, allowlist, or sales step is required.
Create and copy an API key
1. Open your profile menu
Look at the bottom-left corner of the sidebar. You will see your profile avatar. Click it to open the account menu.
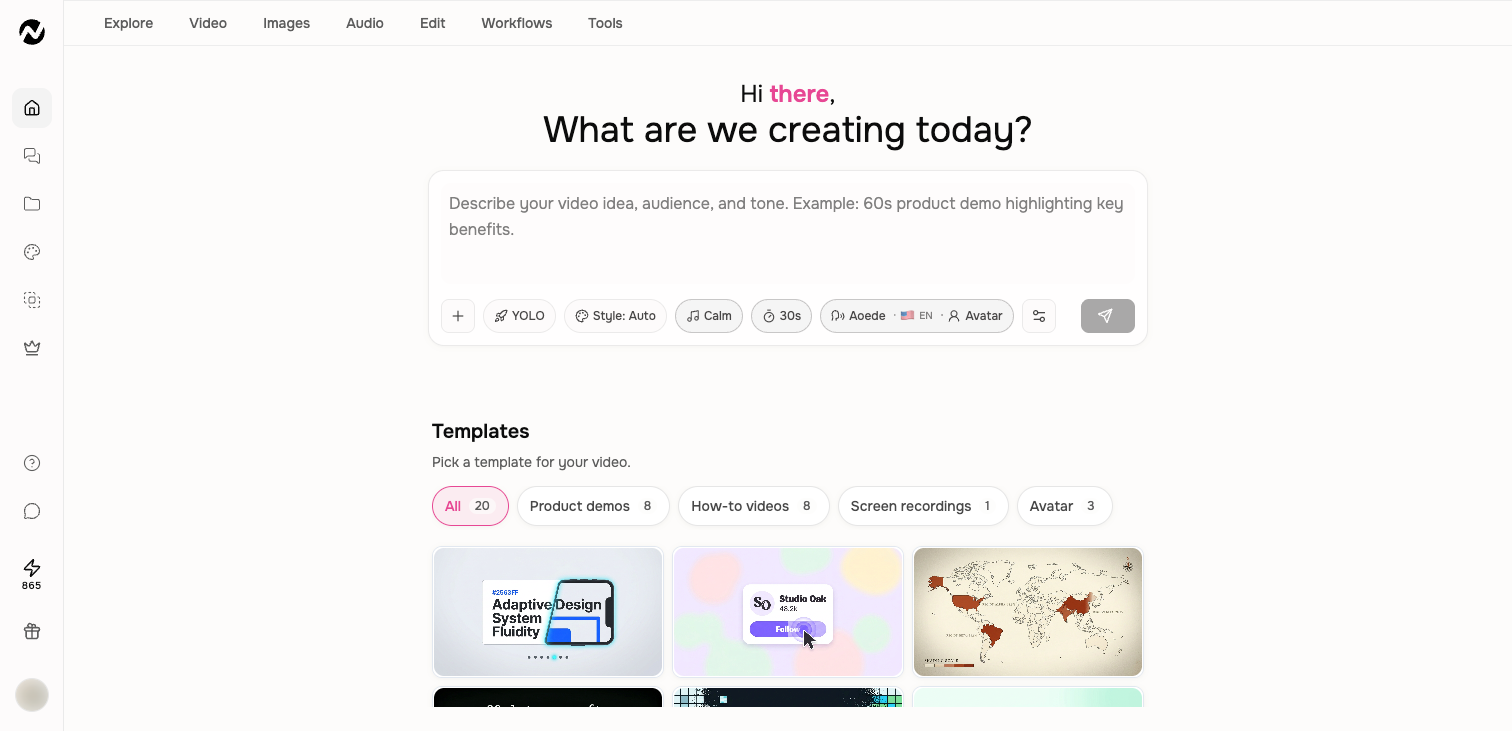
2. Open Account & Settings
A small menu appears with your account details, team controls, and account actions. Click "Account & Settings".
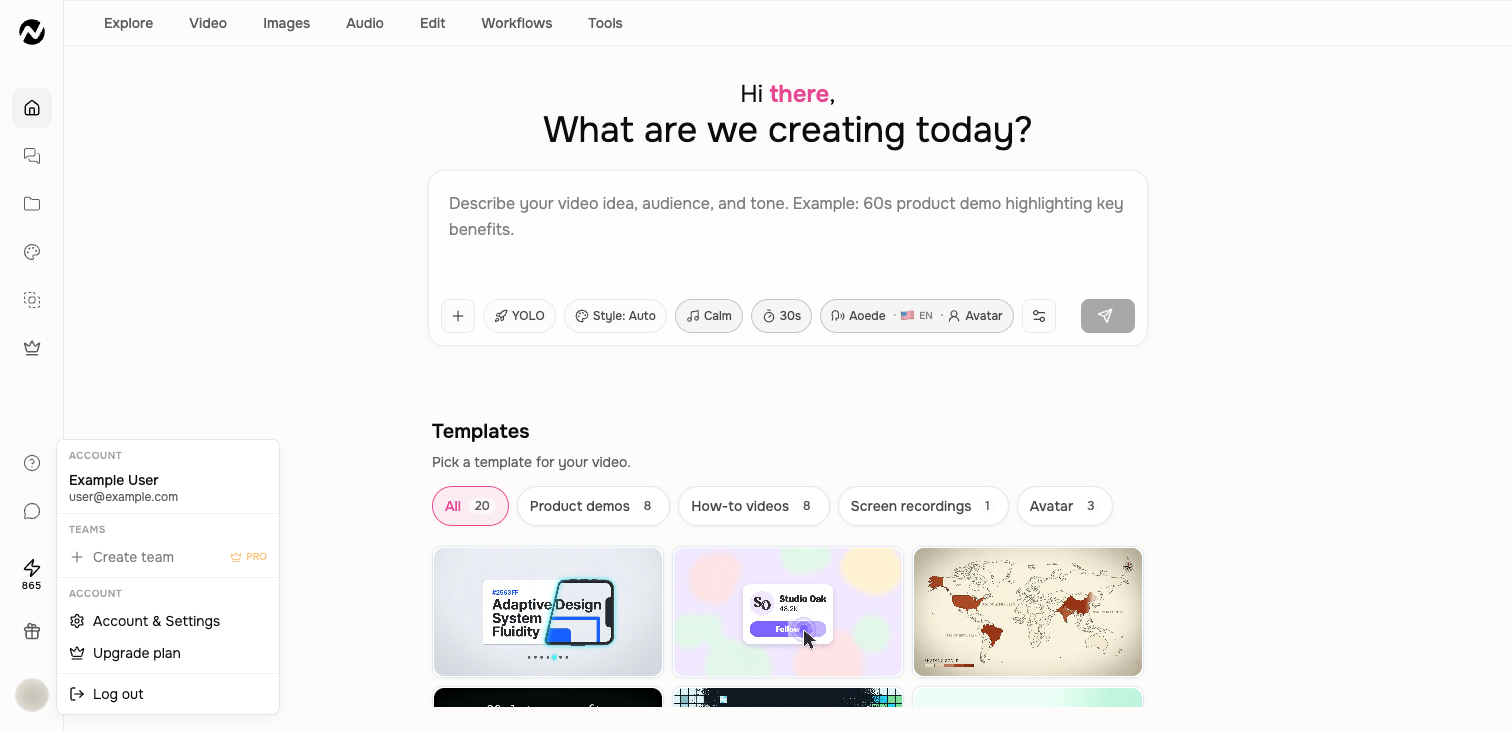
3. Click API Keys
Inside Account & Settings, find and click API Keys in the left navigation. You will see the API Keys management page with a Create API Key button.
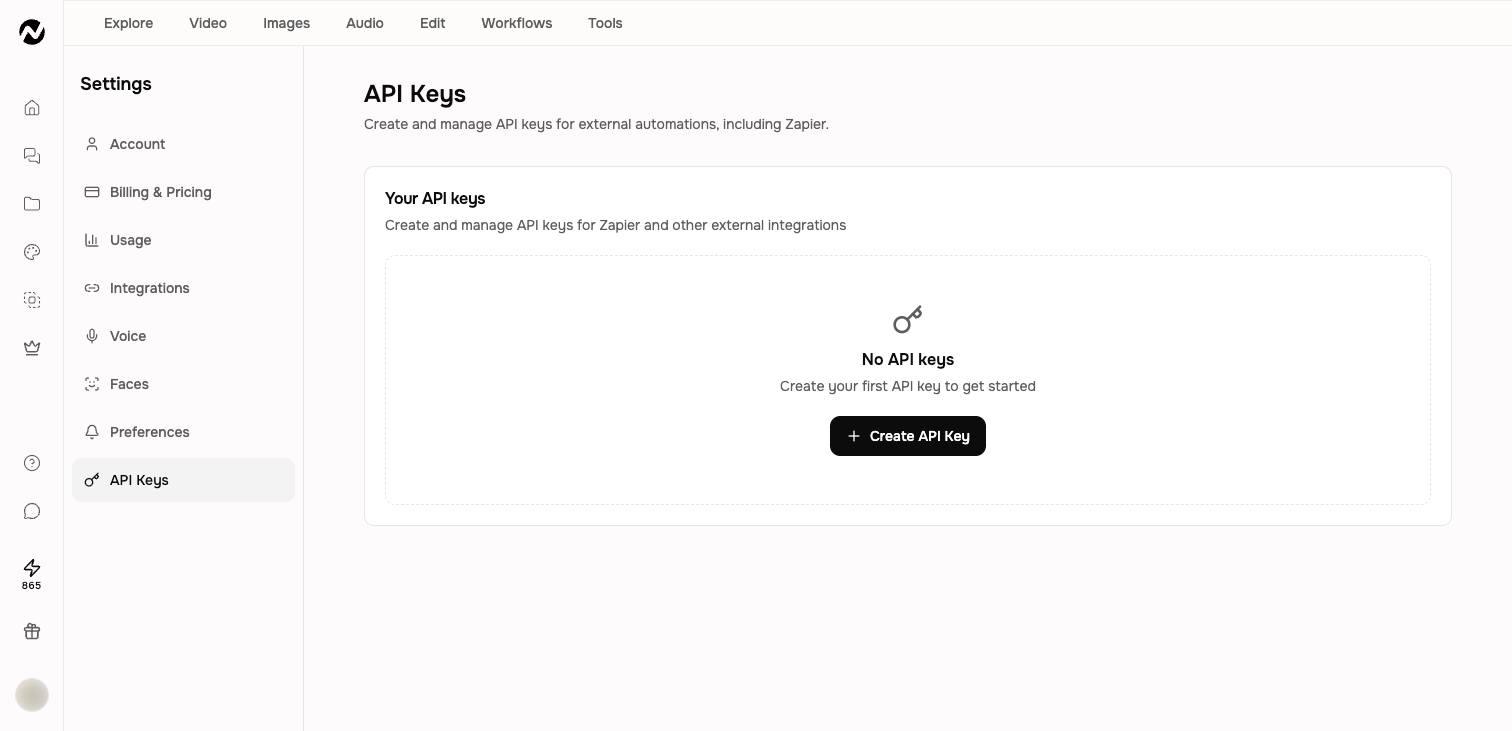
4. Name and create your key
Click "+ Create API Key". A dialog asks for a name and an optional description. Use a name that reminds you where you will use this key, for example "Zapier", "MCP", or "My app". Click Create API Key to confirm.
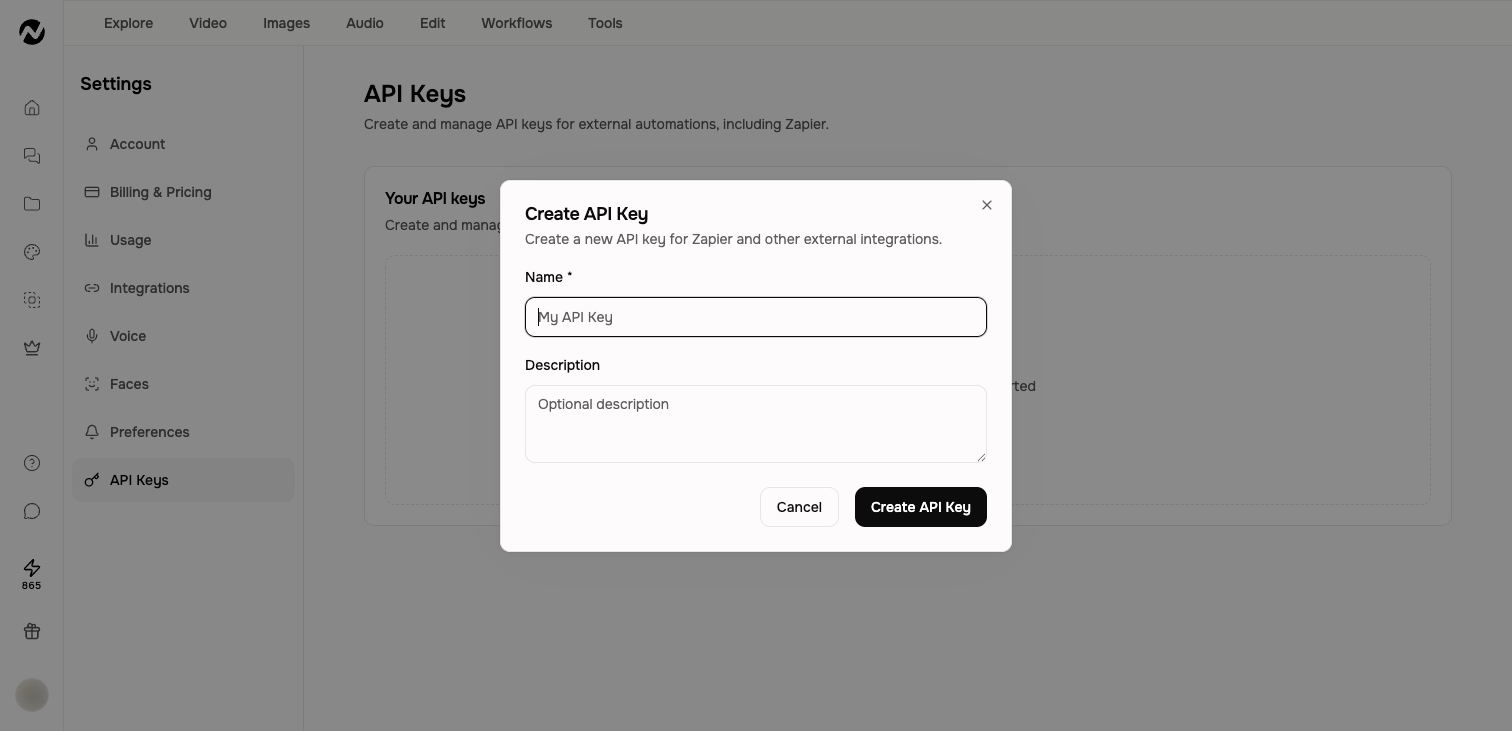
5. Copy your key immediately
Important: After creation, ngram displays the full key once. Copy it now. After you dismiss the screen, the key is masked and cannot be retrieved. Delete it and create a new one if you lose it.
6. Use your key with a supported surface
Your key starts with ngs_ and works as a Bearer token. Use it with the REST API or a supported credential-based setup for MCP, Zapier, or n8n. A connector that authenticates inside its own interface may not ask you to paste a key.
Where to use your key
- REST API — Call the ngram API directly from your backend.
- MCP server — Use ngram from an eligible MCP client.
- Zapier — Connect ngram to thousands of apps without code.
- n8n — Automate video creation in self-hosted n8n workflows.
Was this helpful?
Still need help? Ask the team